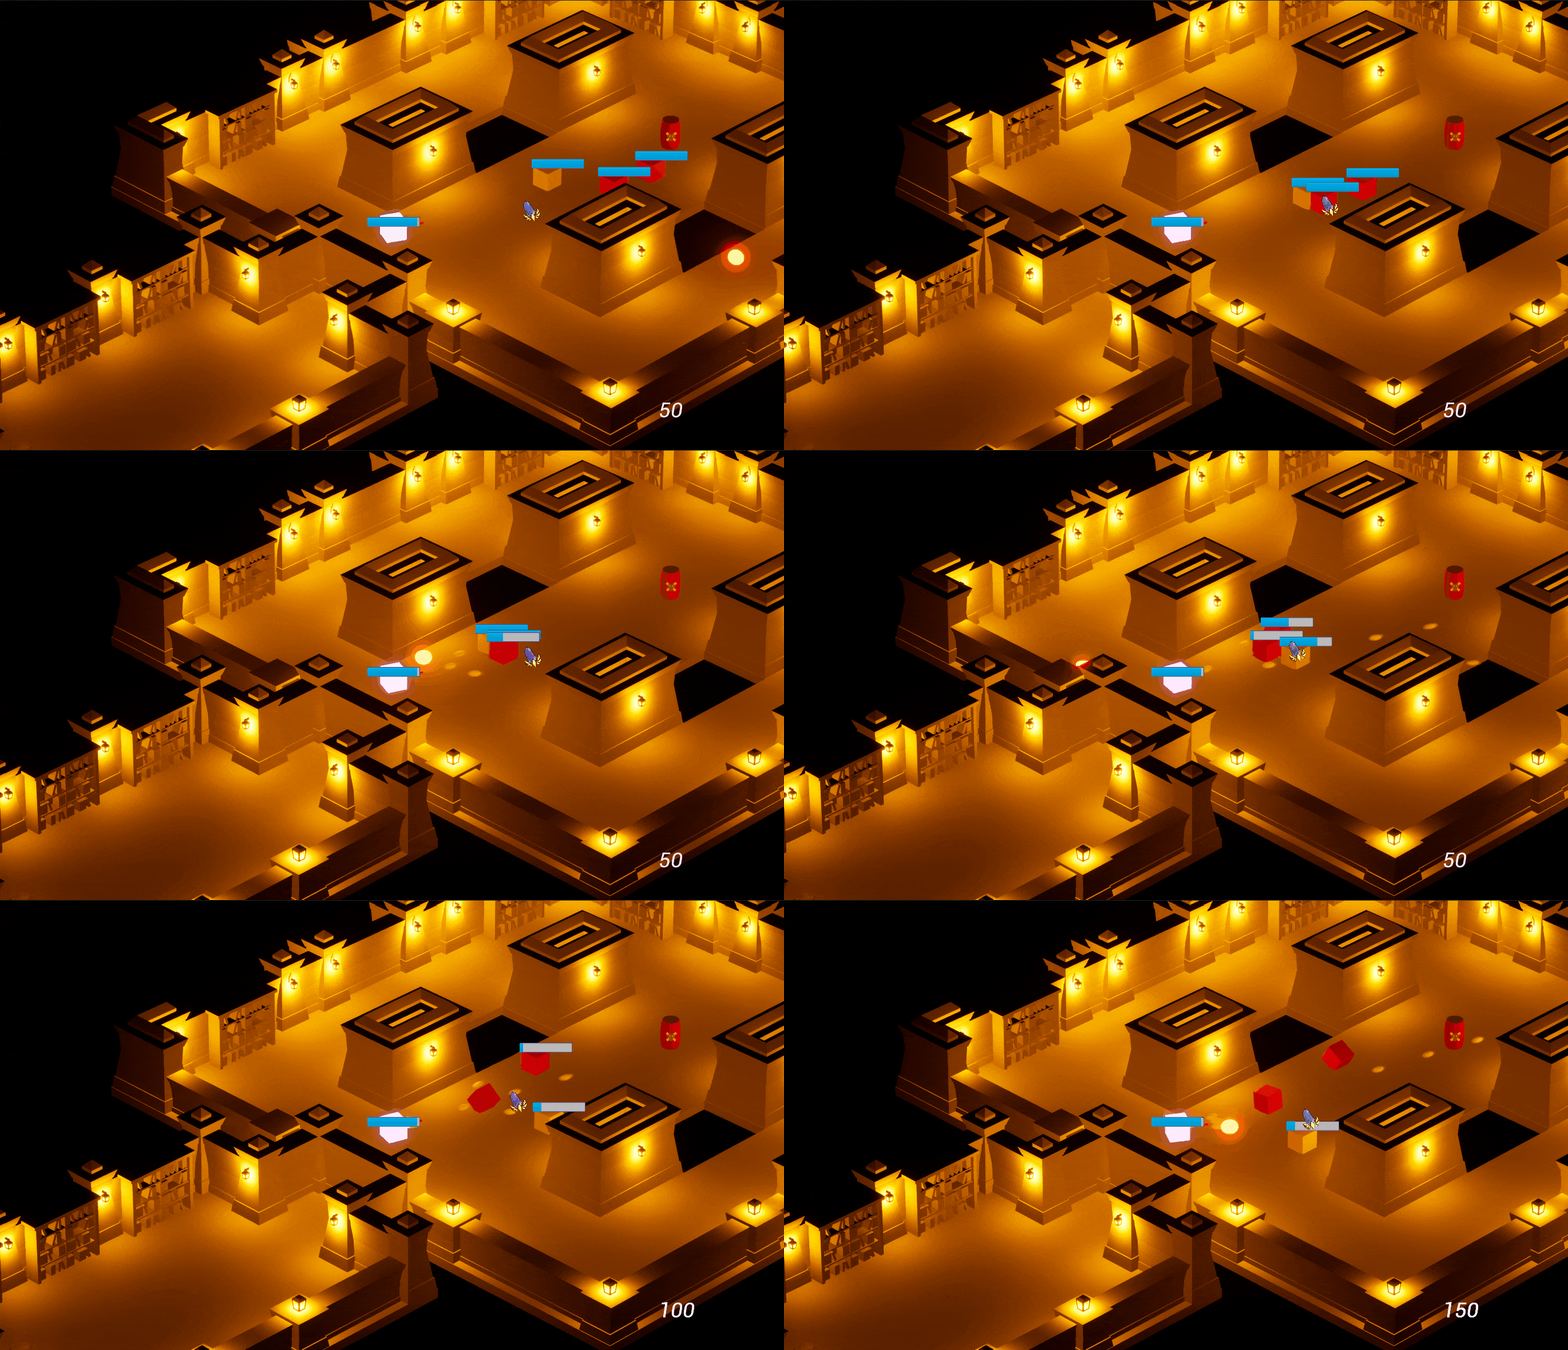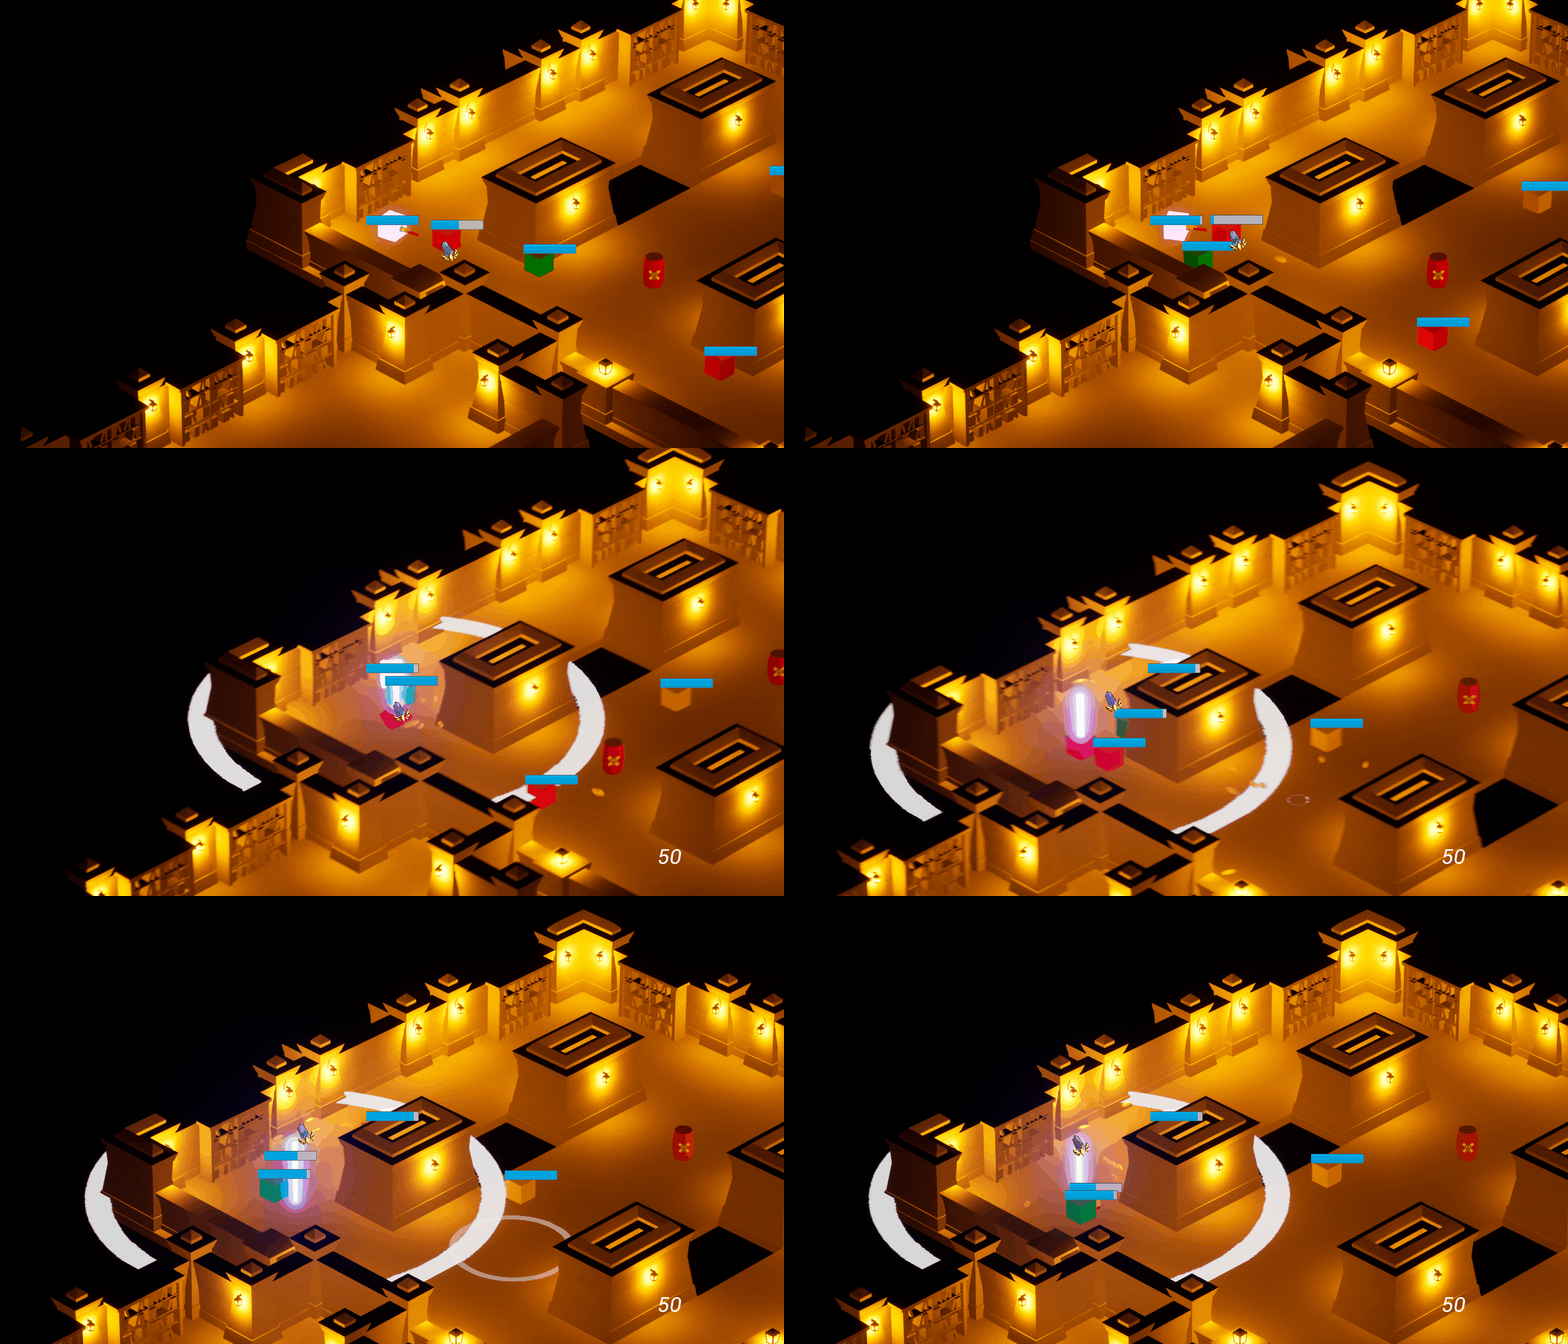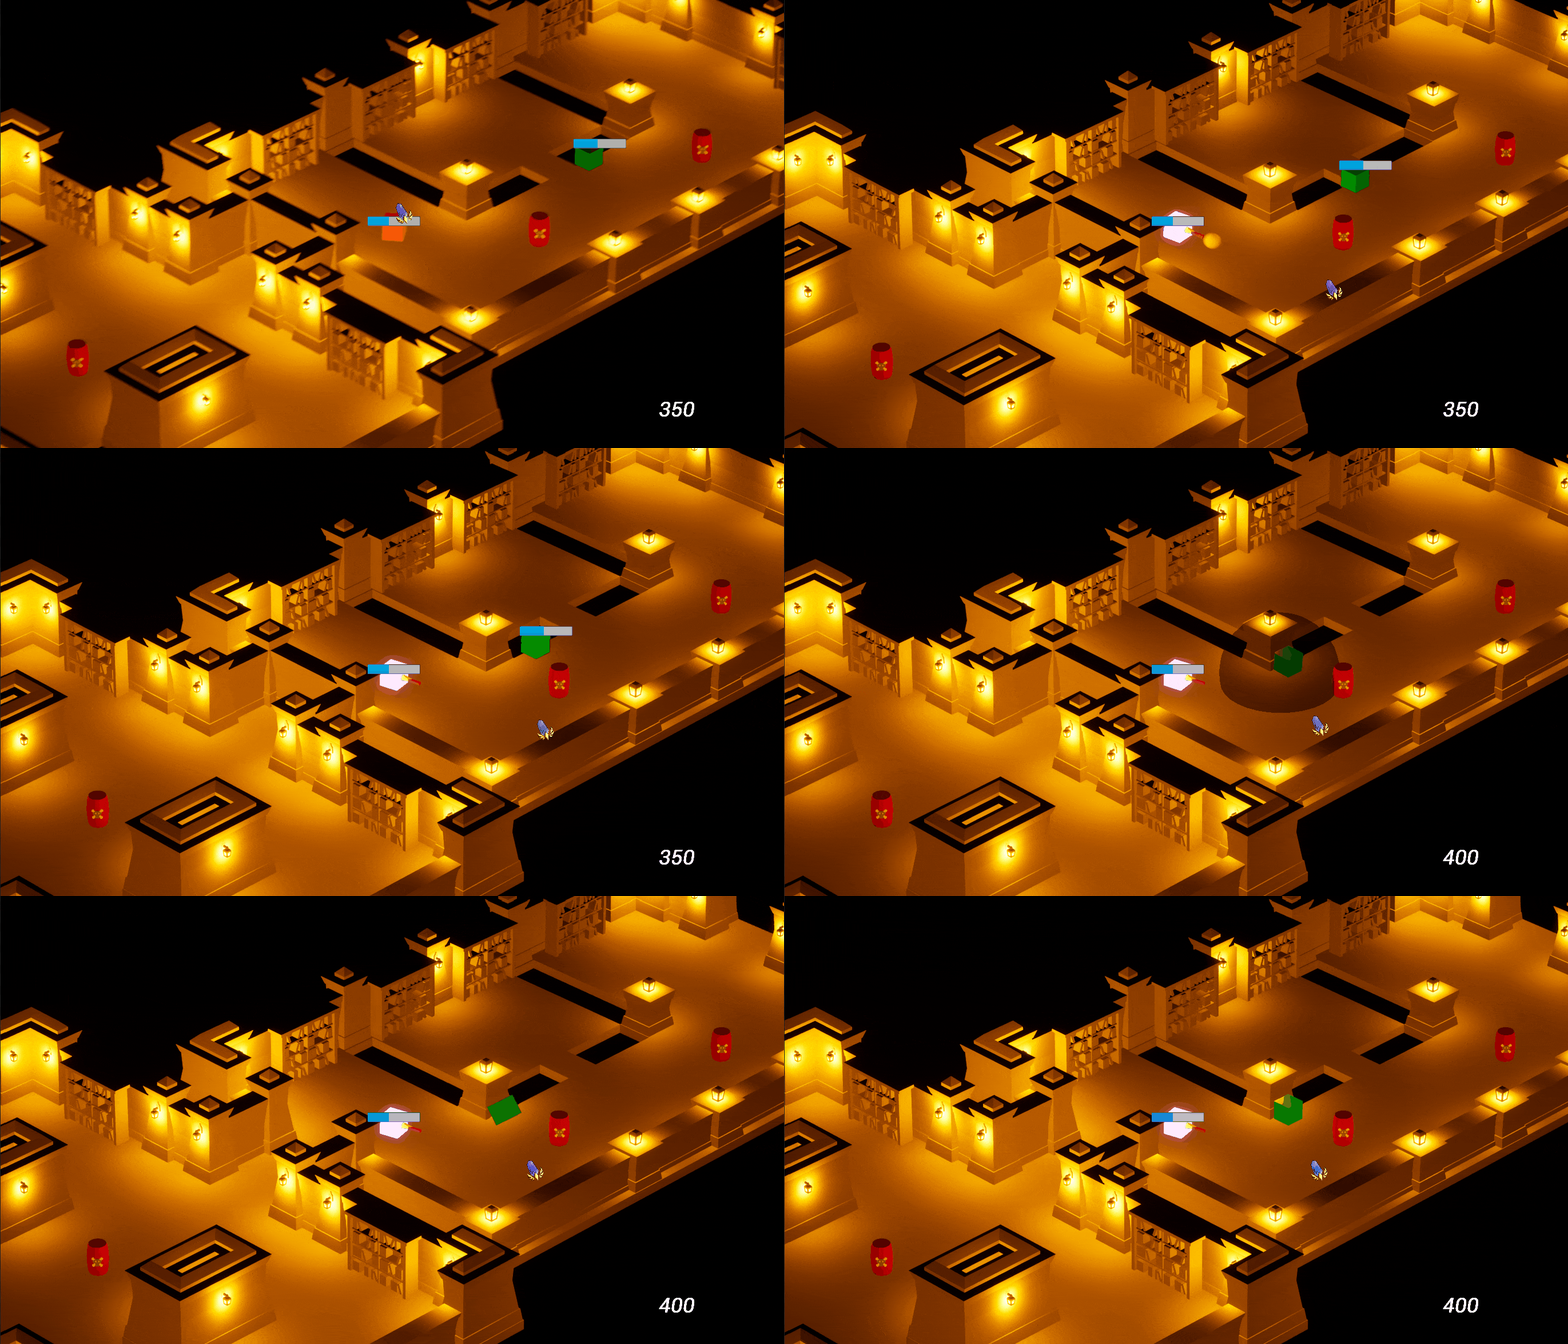
Cabinet of Curiosities
Cabinet of Curiosities is an isometric rogue-like dungeon crawler set in a mysterious library full of strange artifacts. Use your magical lantern to defeat monsters, explore your everchanging surroundings and find tomes that augment your powers, so that you might finally escape back into reality.
I was part of this project throughout the concepting and pre-production phases, taking responsibility over the weapons and the modular upgrade system that is at the core of player progression. My main goals were to create a strong foundation for the upgrade system that would allow for rapid implementation of new effects during production, as well as a robust debugging tool that would streamline the QA process.
~15 Devs
~16 Weeks
Isometric Dungeon-Crawler
Unreal Engine 4
PC (itch.io)
University Project
Modularity
Modularity was at the core of my work. Due to the roguelike structure of the game, we wanted to create an upgrade system that allows for a wide variety of possible outcomes by allowing the player to combine almost each and every upgrade with each other.
Backend Approach
To streamline the implementation process of this system, I visualised and outlined the data structure of the system in the engine before commiting any decisions to code. This allowed me to play with different ideas and find the requirements of the system early on.
Developer Usability
To aid the development process, I made sure to keep the ease of implementation and general developer usablity in mind. I prepared clear pipeline documents, as well as a strong debugging tool that allowed the team to take over this system during production after I left the project.
Prototyping
At the beginning of the project, after being assigned to one of the project briefs, we had several short sprints of protopyping to explore the possibilities of the brief. Below you can see 2 examples of my work during that phase of the project.
Projectile based movement prototype
As the brief specified that the game needed to be a top-down twin-stick shooter, I had the idea to work on a prototype exploring movement and traversal options based around shooting a projectile. To explore as large of a possibility space as I could, I created a large number of tweakable settings, such as camera settings, controls, projectile behaviour and more, that could be changed on the fly during gameplay. Along with the gym level that I created, this allowed me to quickly test different variations of this feature in a variety of contexts.
This prototype not only served as inspiration for the modular upgrade system I would design later, but was a great learning opportunity, teaching me a lot about creating an accessible developer settings menu which I would later use to create the debug menu of the modular upgrade system.
Below you can see the prototype, its settings menu and 2 variations it created in action:
Procedular dungeon puzzle generation tool
Another prototype I worked on, together with one of our programmers, was a graph-based procedural dungeon puzzle generation tool. At the core of this prototype was the question whether or not we could develop a tool that would allow level designers to create dungeon-based puzzles for procedurally generated dungeons, since procedural generation was a must have requirement of the project brief.
While the programmer was working on creating a technical prototype, I sketched out possible node-based designs. I ended up with a design that would allow level designers to create puzzle graphs, with ellipses representing rooms and lines connections between them. Any additional objects, such as switches & keys and how they interact with the doors, one-way connections, rewards and more could be added to the graphs on the connections or rooms themselves. The procedural generation algorithm would then take these graphs and generate a physical space around their layouts.
While this was a really interesting idea which allowed me to make experiences outside of my usual area of work, we ultimately decided that this kind of system and the tool associated with it would be out of scope for the this particular project.
Examples of the puzzle graphs.
Decision Matrix of 2 different approaches.
Modular Approach
After the prototyping phase, we decided that we would want a weapon upgrade system that would feed into the roguelike gameplay loop of the game. Based on research into “Hades”, “Paladins” and “Loadout”, I decided that I would want this upgrade system to be modular, so that many upgrades could be combined to create new and unique combinations in every playthrough.
Before implementing the system in the engine, I set out to create a visualisation of the data structure of the system. This way I would know where certain information would be saved and what blueprints, events and functions to create. This prevented me from commiting anything to code before it was ready and served as a helpful tool to visualise the implementation pipeline.
The upgrades would come in the form of “weapon modules” that would trigger certain functionality based on a number of event dispatchers, such as “on wall hit”, “on enemy hit”, “on enemy damaged” and more. The base information of each module would be saved in a central data table, which would allow quick acces to information such as the display name, description, module type, drop chance and more.
The game instance would save the class of the module that was equiped in each upgrade slot, while a separate map would be used to determine how many slots per upgrade type would be available. When an upgrade pickup would spawn, that blueprint would check the equipped modules in the game instance and information such as the drop chance for the not-equipped modules in the data table to determine 3 modules the player would be able to choose from. Once the player made their choice, the information in the map in the game instance would be updated and the upgrade module added to the players weapon actor as an actor component.
The upgrade modules themselves were child actor components from a base parent module actor component class. On begin play, the modules would bind events to the relevant event dispatchers from the weapon actor, that way each module would independantly run its code when these event dispatchers were called. This would allow us to implement new module effects based around the list of event dispatchers we had created without needing to hard code any specific interaction between module effects, speeding up the development process during the production phase.
With this setup, the team was able to pick up my pre-production work and bring this system all the way through production to release.
Implementation
When implementing the weapon upgrade modules and their effects, I would make heavy use of event dispatchers. The effects of each module are triggered by one or more event dispatchers in the weapon actor that the module component is attached to. In the first blueprint example, you can see how the event dispatcher for primary modules, upgrades that heavily effect the core shooting behaviour of the weapon, is being called. Making use of the map variable of the equipped modules in the game instance, I would check wether a primary module is equipped. If so, the event dispatcher would be called, else the normal projectile firing functionality of the weapon would be triggered.
In this second example, you can see the “Hit enemy” function in the base projectile actor blueprint, which gets called every time the projectile hits an enemy. The function then immediately calls another function in the weapon actor blueprint, which will then call the “Hit enemy” event dispatcher. This way all of the event dispatchers are kept centrally within the weapon actor blueprint, making the process of implementation of the module effects easier and more straightforward and prevents confusion by keeping it clean and central.
In this final blueprint example, you can see one of the module effects. On begin play, custom events are bound to the relevant event dispatcher from the weapon blueprint. This means that any functionality from all equipped modules would be triggered by the correct event dispatcher, completely independantly from one another. In this example, you can also see that some event dispatchers would provide additional input variables. These variables can then be used in the modules functionality, such as in this example, spawning a gravity well at the location of the killed enemy.
Debug Tool
To make to the debugging process as fast and easy as possible, I created a developer tool for the weapon upgrade system. In this video you can see the different functions of this tool in action:
At the bottom left, the tweakable variables of the base weapon are shown. By changing the value in the text field, the variable is updated in real time, allowing for quick and easy adjustments and testing.
At the bottom right of the screen, the upgrade module slots are shown. The slots can easily be filled using the drop-down menus, allowing for the testing and debugging of any singular module and any module combination. The latter came in especially useful to test and debug certain edge cases with the interplay of several modules.
At the top of the screen, the tweakable variables of each equipped module are shown. This is updated in real time as modules are being equipped or unequipped, and, similar to the base weapon variables, these variables can be adjusted in real time. In combination with the other parts of the debug menu, this allows any developer to quickly debug, test and adjust any parts of the system.


